SILENT HILL: Townfall Part 1: The Arrival Walkthrough — Docks, Room 204 Code & the Newsagent
Published 2026-09-2312 min read
Full Part 1: The Arrival walkthrough for SILENT HILL: Townfall: the dock opening, phone booth saving, the Room 204 calendar lock (18 / January / 1996), the Haldane Hotel, Zoe's house and the newsagent stealth run.
Part 1: The Arrival sees Simon wash up on the docks of St. Amelia and find a town gone quiet under the fog — with strange phenomena waiting deeper in. This walkthrough covers the full opening: every puzzle code, every document, and the first stealth gauntlet. (Structure reference: IGN's Townfall wiki; rewritten and reorganized for this guide.)
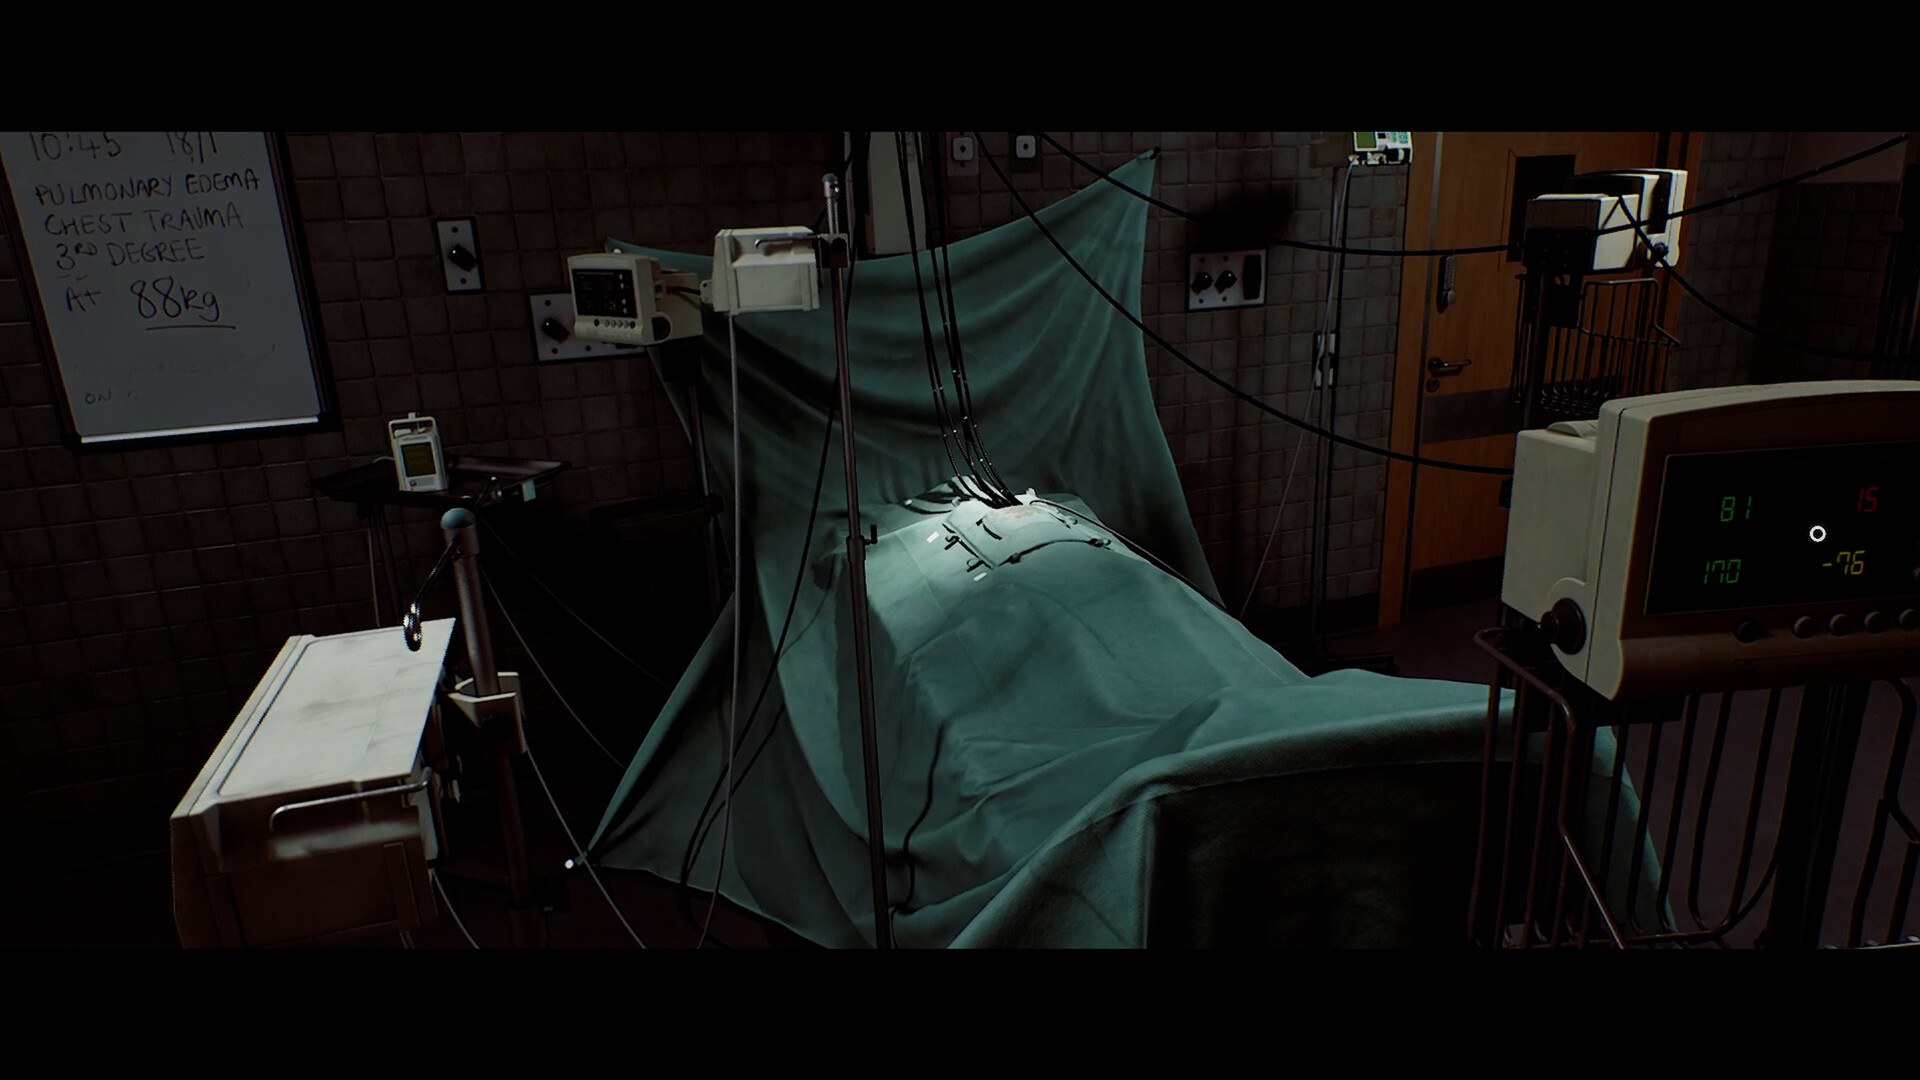
The dock opening
An unknown male voice beckons Simon back to the town to "put some things to rest." Simon breaches out of the water onto the dock. Catching his breath, he notices the hospital ID band on his wrist and the IV line in his arm — touching the line causes him immense pain. A noise sounds on the path overhead. It is time to move.
- Go up the steps ahead and loop around to the left.
- Continue forward past the first street light to reach a locked gate — the first of the town's locked doors.
- Interact with the ringing phone. Nobody is there. Put it down, then pick it up again and manually input the numbers listed on the phone — to progress, dial 100.
A mysterious man speaks with Simon in a cutscene, promising protection in exchange for help. Before he can say more, Simon is overcome by crippling pain — and the save screen appears. This is the game teaching you its save system: find a telephone booth and ring 100 to save. Use every booth you pass.
The man in the square
Stumbling out of the booth, Simon sees an older man standing in the square, covered in blood, with an impossibly long tube descending from the sky and funneling fluid into his mouth. Interact to remove the tube — it recoils up into the clouds as everything goes dark, punctuated by an intermittent beep and blue flash.
The man tells Simon to "find her" before Simon is teleported to a strange cell. The opening act closes here; the puzzle chain begins.
The cell and the water-logged corridor
- Interact with the lock on the cell door, then open it.
- Go straight down the corridor and turn left at the junction. As banging and screaming erupts around you, run to the far end and crouch underneath the debris.
- Stand back up and curve around to the right to find a metal grate on the wall. Crouch and slide it open to reveal a slope into a water-logged area.
- Follow the right-most passage as it twists until you can stand. Around the next corner, squeeze through the gap, then crouch under the pipes in the proceeding corridor.
- Climb the ladder and continue until you reach the Room 204 door.
Room 204: the calendar lock (the first real puzzle)
Interacting with the door triggers a cutscene: Simon grabs the shaking handle and emerges into a hotel room, a woman's voice speaking to him from the CRTV device. He picks it up — pleading with him to "come back" and not to stay in the room forever, the door slams behind him. You now hold the most important item in the game.
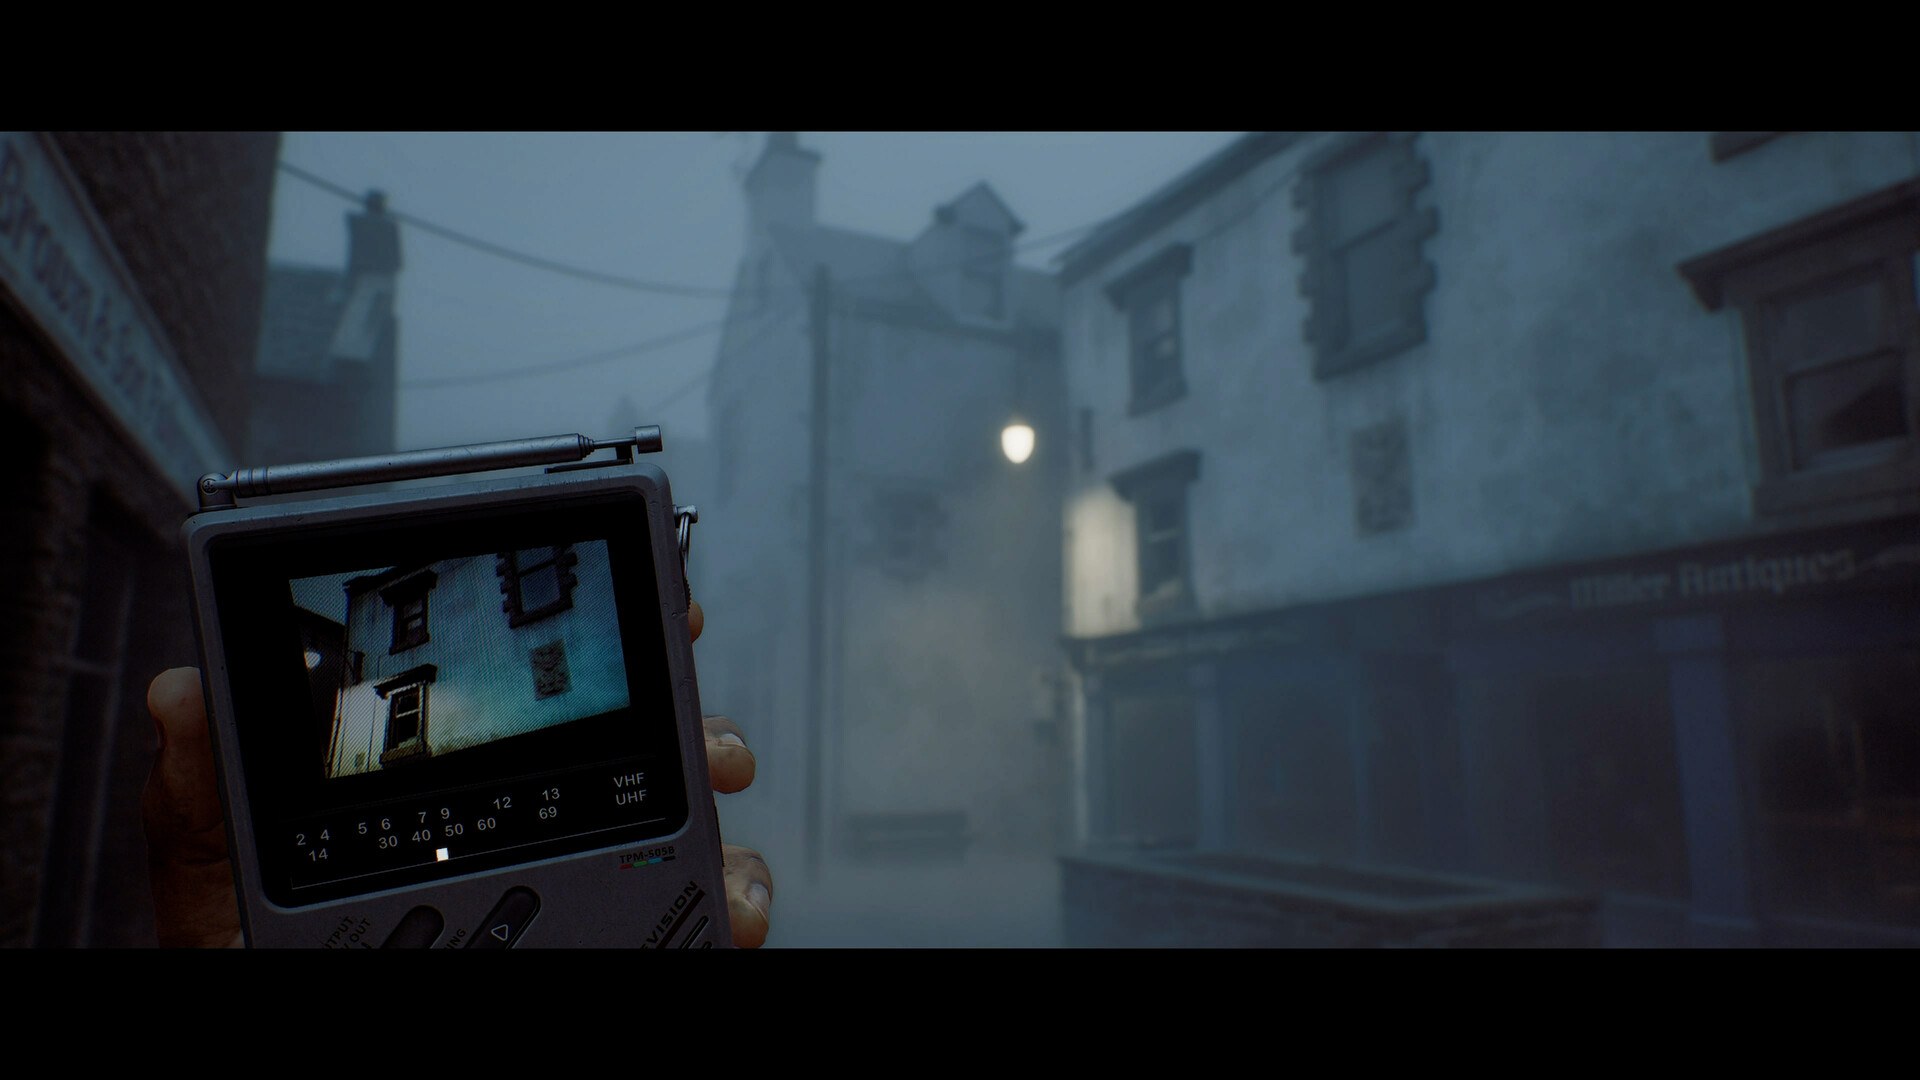
Tuning tutorial: hold the device and adjust the tuning so the white bar overlaps the yellow pips. The static kicks into high gear and, after a couple of seconds, the fine-tuning bar appears. As the yellow diamond zips across the bar, hit the Store Signal input as it overlaps the yellow-and-black rectangle. Each stored signal plays a mini vignette:
- Signal 1: the woman speaking to Simon — and a highlight of the lock mechanism on the nearby door.
- Signal 2: a grainy calendar video — the 18th zooms in, then the full calendar with the first month circled.
- Signal 3: a menu showing the year 1996.
The code: assemble the three signals — rotate the outer ring to 18, the middle ring to January, the inner ring to 1996. Interact to lock in the code and open the mechanism.
Loot the room: the bathroom is empty of threats — take the Hotel Room Note and the Room 204 Key from the sink counter.
The caged corridor and the elevator
- Exit and use the Room 204 Key on the main door to reveal a caged corridor.
- At the far end, interact with the elevator button on the central column — the elevator descends from high above.
- While you wait, you will hear noises surrounding you: the game tutorialises CRTV threat detection. Tune the device and follow the directional markers on its screen to see entities you cannot see otherwise.
- Stay still by the elevator doors while scanning — you will remain safe as several entities pass. Board the elevator and interact with the buttons: a cutscene triggers, a large monster appears in the doorway across from you, and you escape in the nick of time.
The Haldane Hotel lobby
The jolty ride ends in the lobby of the Haldane Hotel. Go behind the counter immediately to your right for the Hotel Reception Notice document. Nothing else can be done here yet — interact with the front doors and accept Yes.
A cutscene plays: Simon emerges into the town square, now littered with protest signs. A deafening booming draws his eyes to the sky — a cluster of gargantuan tentacles hangs in the fog. The title sequence rolls.
After the cutscene, Simon sits with the CRTV watching the woman speak to him. On regaining control, grab the Vigil & Protest Flyer from the bench by the centrepiece. One more mechanic to internalize: CRTV signals vaguely suggest the next direction and/or location — from here on, when the game goes quiet, tune in.
Zoe's house
- Head toward and past the telephone booth, down the road beyond.
- On the right-hand side of the path, find the loose strand of bunting hanging beside an alleyway — the CRTV-suggested route. Take the alley, then a right at the far end, and climb the steps to Zoe's house. The door swings open; mail lies unattended on the ground.
- Kitchen (right): open the back drawer to find the Flashlight (No Batteries).
- Ignore the transplant box on the table for now; cross into the room on the other side of the hall to find the Hand Delivered Letter document on the center table. The computer in the back right corner is out of power.
- Upstairs, first door on the left: collect Gauze from the bathroom cabinet. The door on the right opens into an en suite — grab the Organ Transplant Card document from the floor.
- Room opposite: open the back-corner drawer for AA Batteries, then combine them with the Flashlight in your inventory. You can now toggle the flashlight freely for the rest of the game.
- Back downstairs: crouch in the stairway and open the ajar door to find the power box and the Power Card Credit Guide document — it says Power Cards are sold at the newsagents.
The newsagent stealth run
Exit the house and retrace your steps to the main road. A cutscene triggers: Simon spots a horrifying humanoid creature in his path. The newsagent is immediately to your right as you regain control — but the front door is locked. You must go around the back:
- Head left of the newsagent and pass under The Mariner sign to get behind the buildings.
- This stretch tutorialises peeking and hiding. Peek around corners in conjunction with your CRTV to track the creature, and move only in its away-window. As it runs to the far corner, crouch-walk to the roll cage and stacked crates, use them as a barrier, and loop around the backside as the creature circles away.
- Slip into the newsagent through the open door and open the door immediately to your left. On the counter: a Plank weapon and the Newsagents Note document.
- Behind the counter, open the cash register to retrieve the Prepaid Power Card.
- Crouch and interact with the lock on the front door to unlock it, then exit onto the main road. Careful: the creature is now running up and down nearby. Use the CRTV to track it and cross back into the alleyway when it is furthest away.
With the Prepaid Power Card in hand, Part 1's opening loop is complete — the fog town, the phone booths, the CRTV, the first lock code and the first stalker are all on the table. From here, keep the habits this chapter taught you: tune often, save at every booth, and never cross an open road without checking the screen first. When the difficulty spikes — and the reviews promise it does — our survival tips are the place to recover.